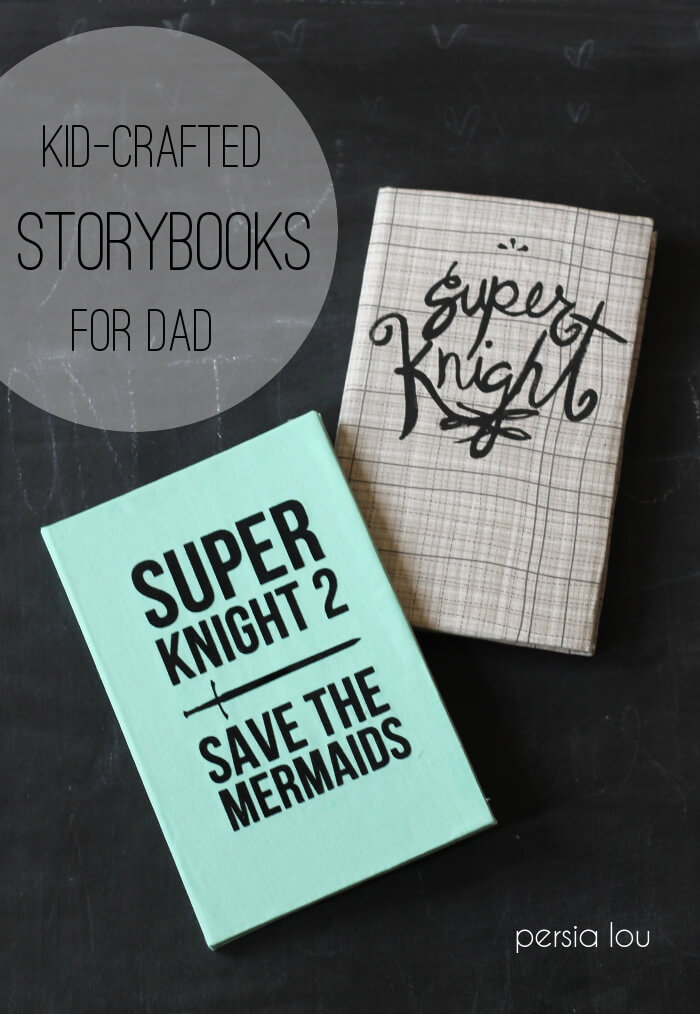
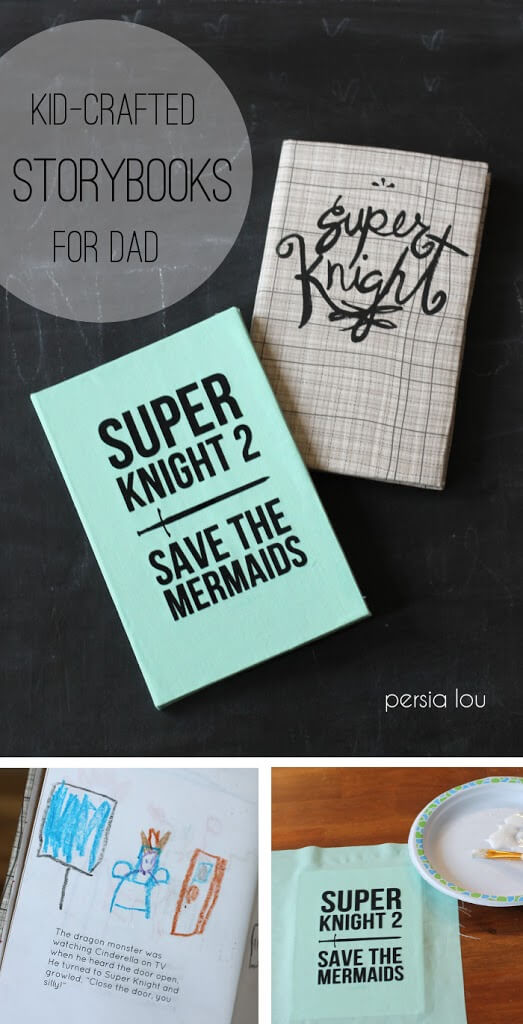
These books look These books look really professional, but they are actually pretty simple to put together AND you probably have most of the supplies already on hand. Score! Here’s how to make one for a special Dad in your life (or whoever needs a special gift!).
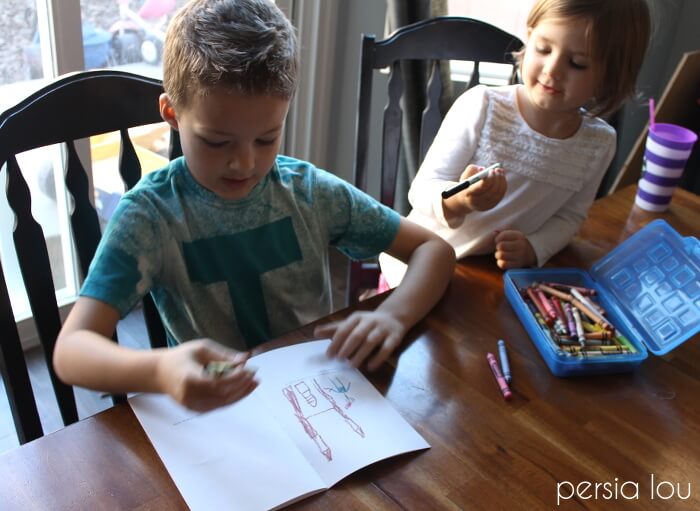
The first step is writing your story. I really wanted this story to be written by my kids and not by me, but since my son and daughter are only five and three, they needed some help. I tried to act as an editor and ghost writer and let them determine where the story went. Here are my best tips for accomplishing that goal:
Tips for Being Your Kids’ Best Ghost Writer
- Ask Lots of Questions – Most young children will not be able to come up with a complete story all on their own. You can help them figure out how to shape their story and fill in the gaps by asking lots of questions. For example, when my kids said a dragon monster kidnapped the princess, I asked what the dragon monster looked like (he was purple with light brown horns, in case you were wondering). These details make the story more interesting and add their unmistakeable voice to the book.
- Take Notes – Before going to the computer and actually typing up the finished story, I sat down with my son and daughter to figure out the basic plot line. This is when I asked lots of questions and took lots of notes to make sure I didn’t forget one adorable detail.
- Make Suggestions Gently – If your kids get a bit stuck on what should happen next, make a suggestion, but don’t take over! The story will be so much better when it really comes from them.
- Embrace the Weird – If your kids are like mine, there will be some crazy nonsensical stuff rolling out of their mouths. Just go with it.
Once you have your story nailed down, break it up into pages, and print it off. I just did this using Word. I left blank spaces at the top of each page to allow for illustrations, which my son and daughter colored in after the book was printed out.
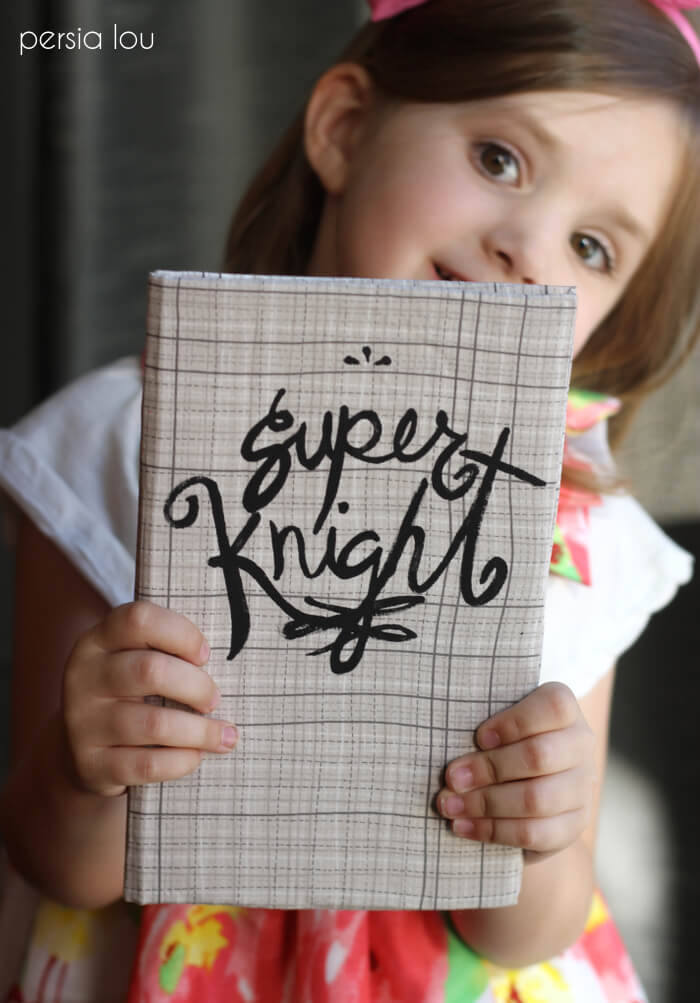
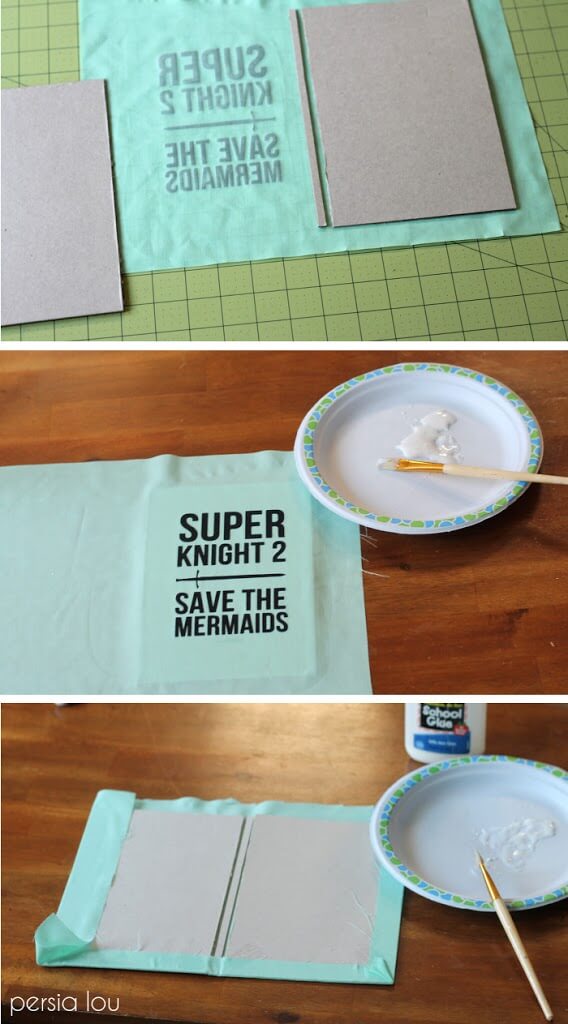
When the booklet was printed, and illustrated, I sewed it together, and it was ready for its cover. You can make the cover a few different ways. For the original Super Knight, I went simple with just a piece of cardboard folded in half.
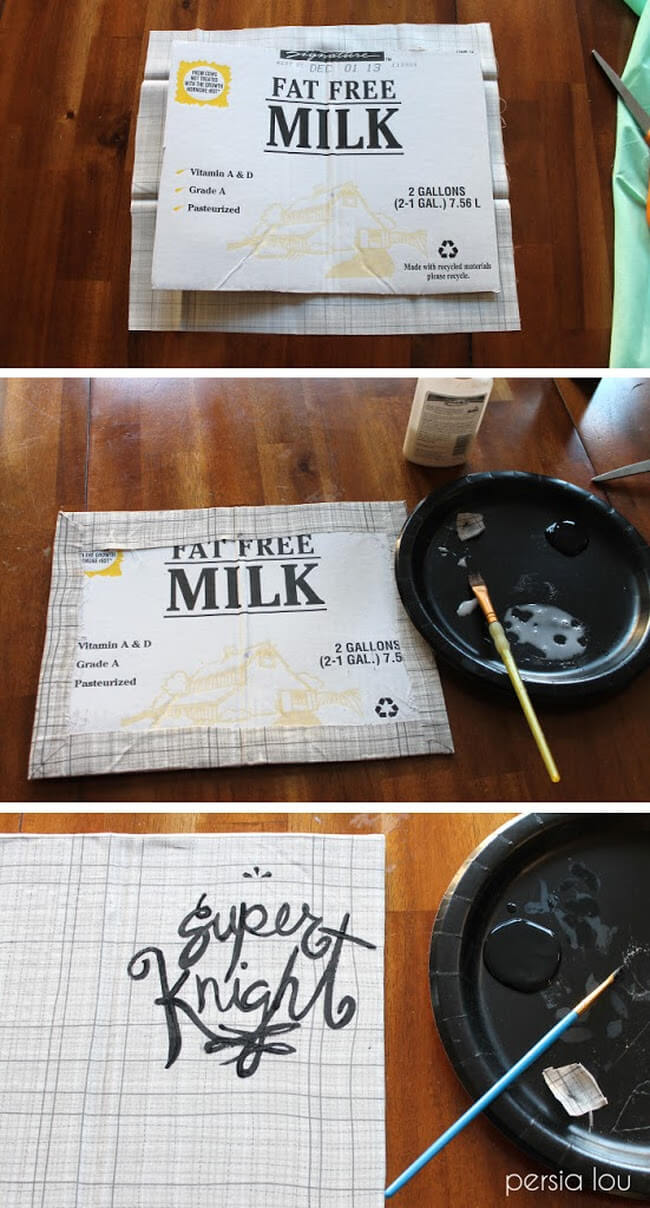
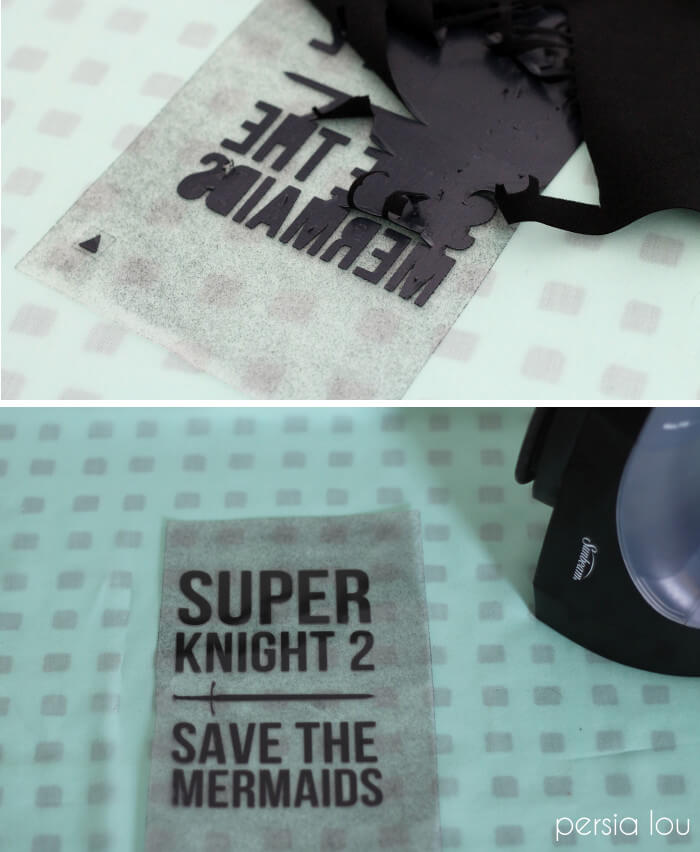
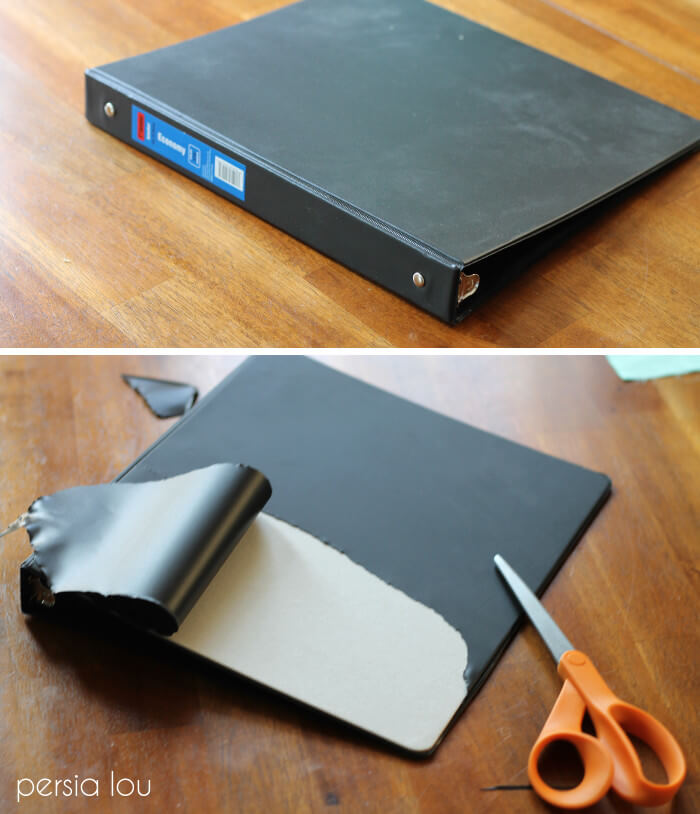
The cardboard is wrapped in fabric, which is glued on with plain ol’ Elmers glue brushed on lightly with a brush. Then I painted the book’s title directly onto the front cover.To attach the book to the cover, you will need two endpapers. This is a fun place to add extra color or pattern to the book. The end paper should be the same size as the papers used for your booklet (I used 8.5″x11″). Fold the endpaper in half and glue one side to the inside of the cover and the other side to the first or last page of the booklet. Again, simple white glue works just perfectly for this.For the sequel, I decided to make the cover a bit more professional-looking, but the basic process is the same. Rather than painting on the title, I decided to use my Silhouette Cameo and a little flocked heat transfer vinyl.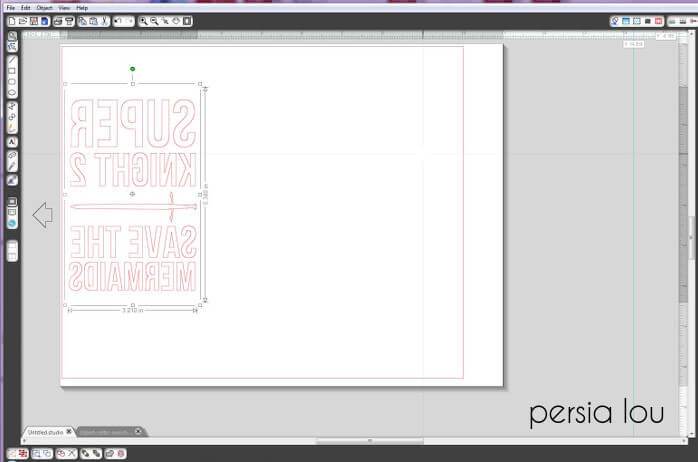
First, I designed my cover in the Silhouette software, and then flipped it horizontally so it would be cut as a mirror image.
Next, it was time to weed out all of the negative space from the cut vinyl sheet.


Comments + Project Love
megan {homemade ginger} says
These are adorable! And seriously…your handwriting/calligraphy?? I thought it was some amazing font. Jealous!
Brooklyn at Cook and Craft Me Crazy says
These are AWESOME! I totally am starting this, this year so we can have sequel after sequel! Thanks for the inspiration! xo-Brook
Amy @ Homey Oh My! says
This is so cute it hurts, especially with how your kids showed sympathy to the dragon monster. I can imagine this would be an amazing gift to receive as a parent! Great tip with the binder, and I'm noticing more and more how pretty your handwriting is!
Amy W says
These turned out so adorable! I'm sure your husband will just love the special story for many years to come!
Tori Grant says
I love this idea! What a fun gift for a dad! Something to treasure forever! I will have to do this when my boys get a little older. Thanks for the great idea!
Jessica Anderson says
These are so stinkin' cute! And yes, how the heck did you paint that title so nicely?! :)<br />
Kat Jeter says
This is so sweet. Something to keep until the kids get older and can share it with their own. Precious!
Amy Lee Scott says
Alexis, this is the cutest! I love how personal this is (and how it helps everyone be creative in a fun way). Now I just need to get a Silhouette 🙂
Carmody Tisdale says
This makes me so happy. I love this idea!
Marni @ Haberdashery Fun says
This is amazing.. Great idea!!
Colleen says
What a fun idea! My neice made a book for all the cousins this last year for christmas, it's one of our favourite gifts.
Bethany Lee says
LOVE! What dad wouldn't like receiving one of these?!
Lisa says
That is such a cute idea! I'm not a parent but I'm going to remember this for the future!<br />I'm a teaching assistant in a class of 4/5 year olds. I do a lot of art with them and I love the way they describe their pictures. Kid grammar is the best.