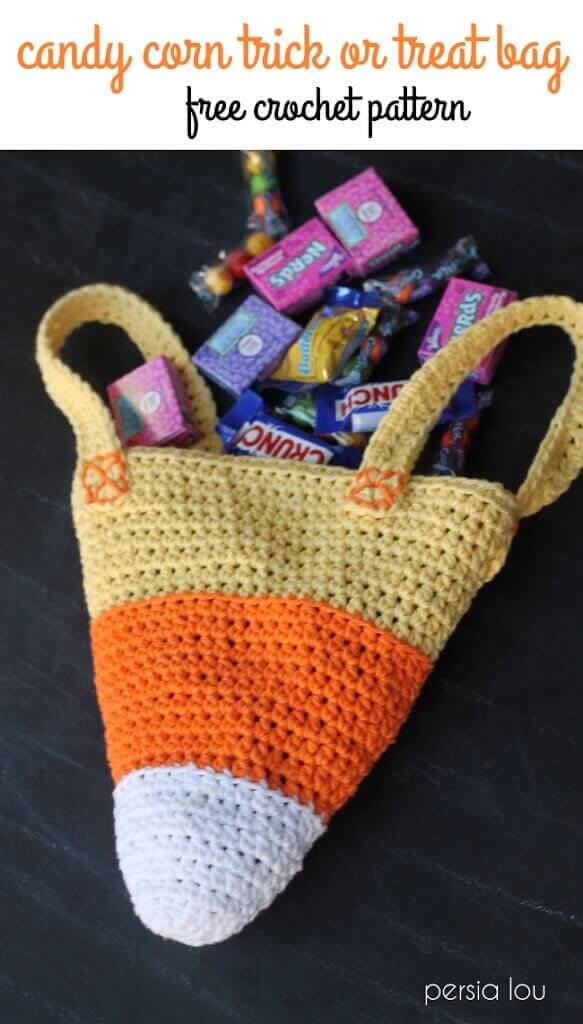
This sweet little crochet candy corn treat bag is a free Halloween crochet pattern that works up quickly and is perfect for trick or treating!
Ah!! You guys!! Is Halloween really only a week away? I can. not. believe it. When did that happen? Any one else have lots left to do?
I’ve still got two costumes I need to whip up. My little girl actually requested to be Ursula from the Little Mermaid instead of a princess this year. (!!!) It was like all my wildest dreams came true.
And, it’s going to be awesome. I mean, assuming I can actually get around to making it. 😂 I’m thinking this may be a no sleep kind of week.
Anyway – we may only be a week away from Halloween, but there is still plenty of time to whip up this cute and simple (read: easy) Halloween candy corn treat bag to give your cutest Trick or Treater a fun little handmade gift!
How to Crochet a Candy Corn Treat Bag

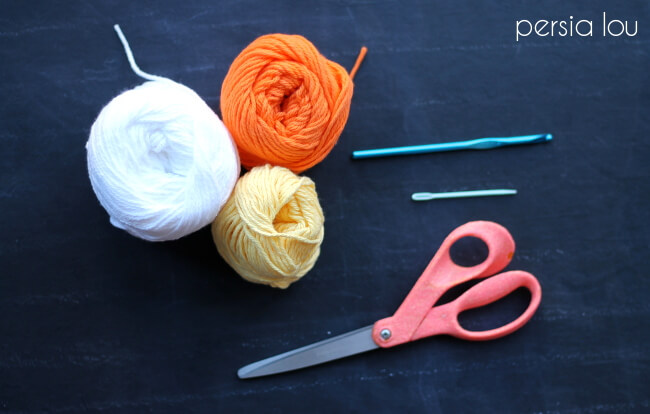
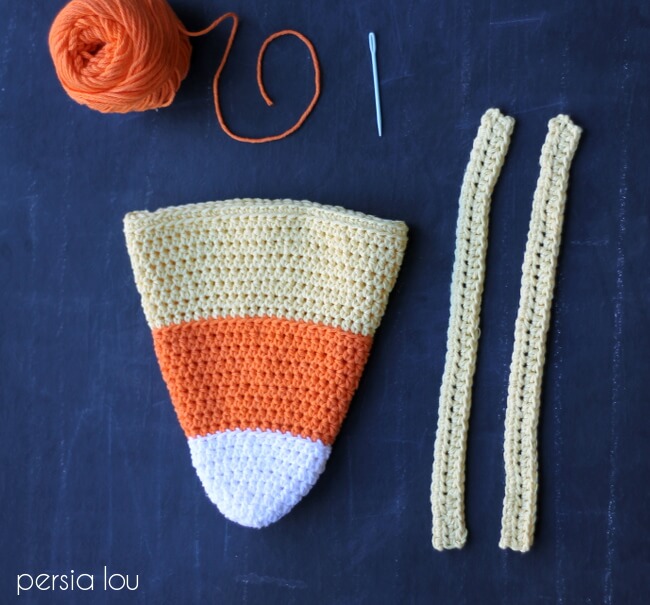
This pattern is pretty simple, and requires only a few supplies. Here’s what you will need.
Crochet Candy Corn Bag Supplies
Crochet Candy Corn Treat Bag Pattern
Please Note: This pattern is free for personal use. You are totally welcome to sell items that you make from the pattern (I do appreciate a link back to the pattern when possible). However, please do not sell or redistribute the pattern itself. If you want to share the pattern with a friend, please just send them a link.
Candy Corn Bag Ad-Free Pattern PDF
If you prefer a printed pattern, you can purchase an in-expensive, ad-free printable PDF of the pattern HERE.
Thanks for your support! 💛
This pattern uses American crochet terms.
Stitch Abbreviations Used:
- Chain (ch)
- Half Double Crochet (hdc)
- Single Crochet (sc)
- Slip Stitch (sl st)
- Stitch (st)
The body of the bag and handles are crocheted separately and then sewn together. You will find the bag and handle patterns below followed by assembly instructions.
Candy Corn Bag Pattern (Make 1)
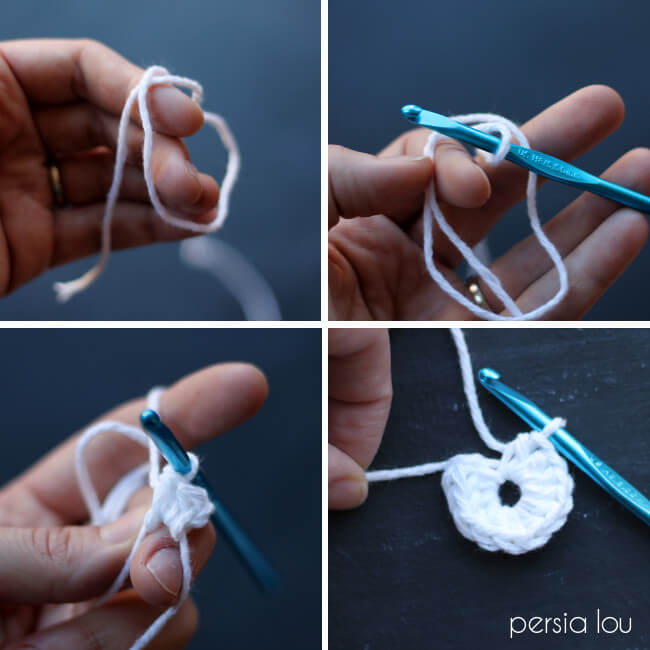
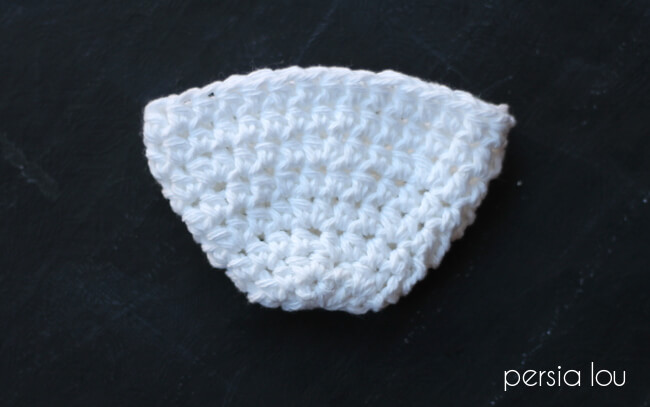
Rnd 1: With the white yarn, begin with a magic loop, ch 2, 11 half double crochet (hdc) in magic loop, tighten magic loop, sl st to join (12 hdc).
Rnd 2: ch 2, 2 hdc in next st; *hdc in next st, 2 hdc in next st; repeat from * around; sl st to join (18 hdc).
Rnd 3: ch 2, hdc in each st around, sl st to join (18 hdc).
Rnd 4: ch 2, hdc in next st, 2 hdc in next st; *hdc in next st, hdc in next st, 2 hdc in next st; repeat from * around; sl st to join (24 hdc).
Rnd 5: ch 2, hdc in each st around, sl st to join (24 hdc).
Rnd 6: ch 2, hdc in next 2 sts, 2 hdc in next st; *hdc in next 3 sts, 2 hdc in next st; repeat from * around; sl st to join (30 hdc).
Rnd 7: ch 2, hdc in each st around, sl st to join (30 hdc).
Rnd 8: ch 2, hdc in each st around, sl st to join (30 hdc). Finish off, weave in ends.
Rnd 9: Join orange yarn, ch 2, working in back loops only, hdc in each st around, sl st to join (30 hdc).

Rnd 10: ch 2, hdc in next 3 sts, 2 hdc in next st; * hdc in in next 4 sts, 2 hdc in next st; repeat from * around; sl st to join (36 hdc).
Rnd 11: ch 2, hdc in each st around, sl st to join (36 hdc).
Rnd 12: ch 2, hdc in each st around, sl st to join (36 hdc).
Rnd 13: ch 2, hdc in next 4 sts, 2 hdc in next st; *hdc in next 5 sts, 2 hdc in next st; repeat from * around; sl st to join (42 hdc).
Rnd 14: ch 2, hdc in each st around, sl st to join (42 hdc).
Rnd 15: ch 2, hdc in each st around, sl st to join (42 hdc).
Rnd 16: ch 2, hdc in next 5 sts, 2 hdc in next st; *hdc in next 6 sts, 2 hdc in next st; repeat from * around; sl st to join (48 hdc).
Rnd 17: ch 2, hdc in each st around, sl st to join (48 hdc). Finish off orange yarn, weave in ends.
Rnd 18: Join yellow yarn, ch 2, hdc in each st around, sl st to join (48 hdc).
Rnd 19: ch 2, hdc in each st around, sl st to join (48 hdc).
Rnd 20: ch 2, hdc in next 6 sts, 2 hdc in next st; *hdc in next 7 sts, 2 hdc in next st; repeat from * around; sl st to join (54 hdc).
Rnd 21: ch 2, hdc in each st around, sl st to join (54 hdc).
Rnd 22: ch 2, hdc in each st around, sl st to join (54 hdc).
Rnd 23: ch 2, hdc in next 7 sts, 2 hdc in next st; *hdc in next 8 sts, 2 hdc in next st; repeat from * around; sl st to join (60 hdc).
Rnd 24: ch 2, hdc in each st around, sl st to join (60 hdc).
Rnd 25: ch 2, hdc in each st around, sl st to join (60 hdc).
Rnd 26: ch 2, (working in back loops only, sc in each st around, sl st to join (60 sc). Finish off yellow yarn, weave in ends.
Handle Pattern (Make 2)
Row 1: With yellow yarn, ch 42, hdc in third ch from hook, hdc in each ch (40 hdc).
Row 2: ch 2, hdc in each st, finish off, weave in ends (40 hdc).
If you would like longer handles, simply start with a longer chain.
Candy Corn Bag Assembly Instructions
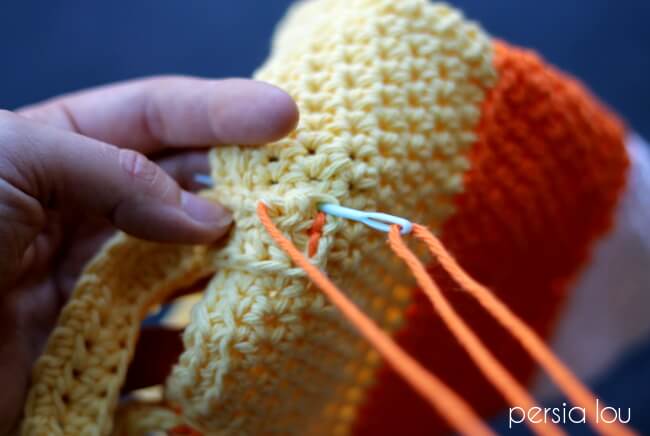
To assemble your candy corn trick or treat bag, you just need to sew your handles onto the bag.
To do this, position both ends of one handle on one side of the candy corn cone. You can use a pin to hold them in place if you like.
Then, with a length of yarn threaded onto your needle (I chose to use orange yarn for a nice contrast to the yellow handle, but you can also use yellow to help the stitches blend in), sew the handles in place.
Stitch a rectangle shape around the base of the handle, and then an X shape across that rectangle for a secure join.
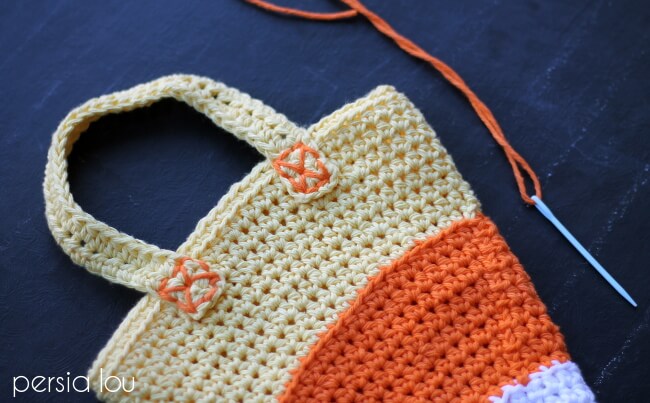
Once both handles are securely sew in place, your cute little bag is all done!
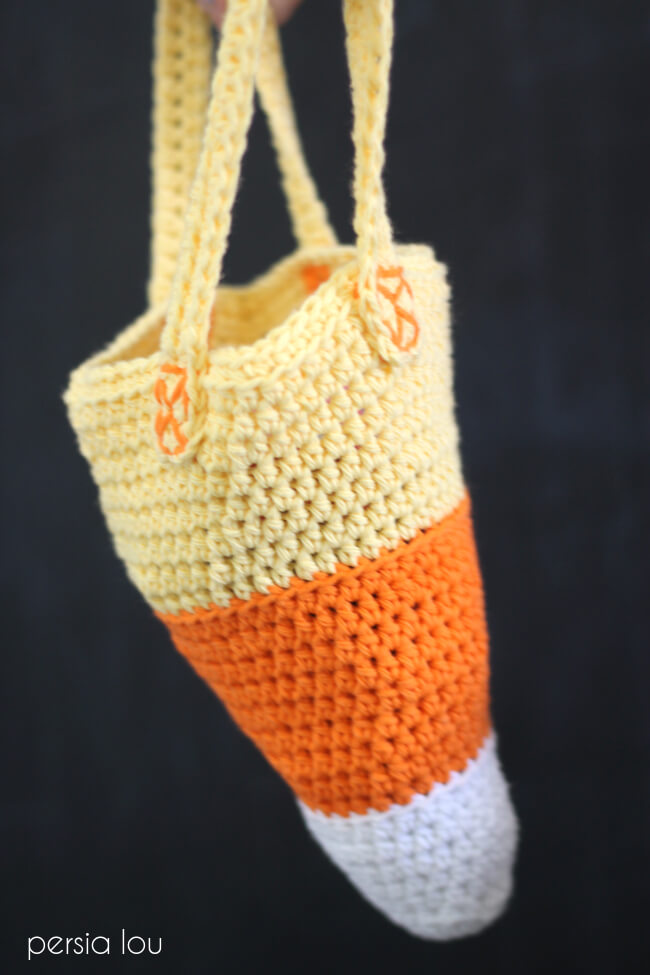
Now, this little bag is definitely not a huge pillowcase sized trick or treat bag, but it’s the perfect size for a doing a little trip around the block.

I hope you guys like this little Halloween Crochet Pattern!
If you make your own sweet little candy corn bag, I would love to see it! Share your photos to my facebook page or tag me on instagram or twitter, so I can see. It totally makes my day. 😊
Happy Making and Happy Haunts!

If you like this post, check out some of my other crafty Halloween ideas:


Comments + Project Love
Shonee Smith says
That bag is sooo cute! I really think that I need to get more into crocheting!! It is so festive and fun!! <br />-Shonee<br />www.hawthorneandmain.com